When you first learn HTML, you might wonder if you need to manually type all these tags and elements. It seems like it would take a lot of time and effort, but it is possible. However, you might also ask if there’s a faster way to write HTML.
That’s where Emmet comes in.
What is Emmet?
Emmet is a plugin for text editors and IDEs that allows for quick auto-completion and editing of code in languages like HTML, XML, XSLT, CSS, and others.
Think of Emmet as a fast autocomplete, similar to the autocomplete feature on your mobile keyboard, but for coding.
In the past, Emmet was available only as a plugin that needed to be manually installed in the code editor to enable fast auto-completion and other features. However, now Emmet is built into most code editors like VS Code, Cursor, and WebStorm, and is available as a plugin for editors like Notepad++ and Sublime Text.
When it comes to languages like HTML, Emmet can be thought of as a shortcut language. Let me explain.
Emmet for HTML
I’ll give you a task; write down the basic structure of the HTML in your favourite code editor.
<!DOCTYPE html>
<html lang="en">
<head>
    <meta charset="UTF-8">
    <meta name="viewport" content="width=device-width, initial-scale=1.0">
    <title>Document</title>
</head>
<body>

</body>
</html>
You might type the code example above line by line, right? Now, let me show you a shortcut using Emmet. Open your favorite text editor with Emmet installed (I’ll be using VS Code), create a new file named index.html, type an exclamation mark !, and press enter.

See, when I typed ! and pressed enter, the entire HTML structure was instantly added to the text editor.
Isn’t that awesome? We skipped all the manual typing of the HTML code snippet, and Emmet did it automatically for us.
Now, let’s learn some more HTML snippets to make our coding super fast ⚡️.
Creating HTML Elements Using Emmet
All you need to know are the basics of HTML, such as tags, attributes, and how the overall structure and nesting work. Once you understand these, you’re ready to use Emmet to enhance your HTML coding.
Creating a container
You can easily create a container structure like div, main etc by just typing their name in the editor and hitting the enter.
divwill output to
<div></div>You can create other elements such as lists (ol or ul), nav, header and more without having to type the opening and closing tags manually.
Creating multiple elements using * operator
From manually typing opening and closing tags to just typing the name, we solved one problem. But you might be thinking that it isn’t that useful, as I can type a single element tag easily.
Well, let me ask you to write 5 or 10 div tags. Ok, now you might be agreeing, that now it becomes a problem. Here emmet solves this problem by providing us with asterisk (*) operator.
To write 5 div tags as once, we write the tagname followed by and then the number of times we want it to replicate. e.g. div*5
div*5will output to:
<div></div>
<div></div>
<div></div>
<div></div>
<div></div>
Just like that 5 div tags were created. Now think about it, if you want to have multiple links using a tags, it becomes so much easier with this simple snippet.
Creating Sibling elements using + operator
In the previous section, we saw an example of how to create multiple elements. However, if you noticed, they were all similar elements, like 5 consecutive div tags.
But what if you need two different tags, one after the other? This is where we use the sibling or plus (+) operator.
To write an h1 tag after a div tag, use the syntax div+h1.
div+h1will output to:
<div></div>
<h1></h1>
There you go, we have a h1 tag which was created right after the div tag, allowing us to create multiple tags without typing each one manually.
Note: You can combine the asterisk * and the plus + operators to create multiple elements in sequence, like div*2+h1*2.
div*2+h1*2will output to:
<div></div>
<div></div>
<h1></h1>
<h1></h1>
Now we have 2 div tags which were created followed by 2 h1 tags.
Creating Child Elements using > Operator
So far, we have been creating elements one after another. However, let’s say I want to create an unordered list ul with one list item li inside it.
In this case, we can use the > operator, placing the parent tag before the child tag. For example, ul>li.
ul>liwill output to:
<ul>
  <li></li>
</ul>
We can see that Emmet created an unordered list with one list item. Now, let’s use the * operator to add 5 list items to the unordered list.
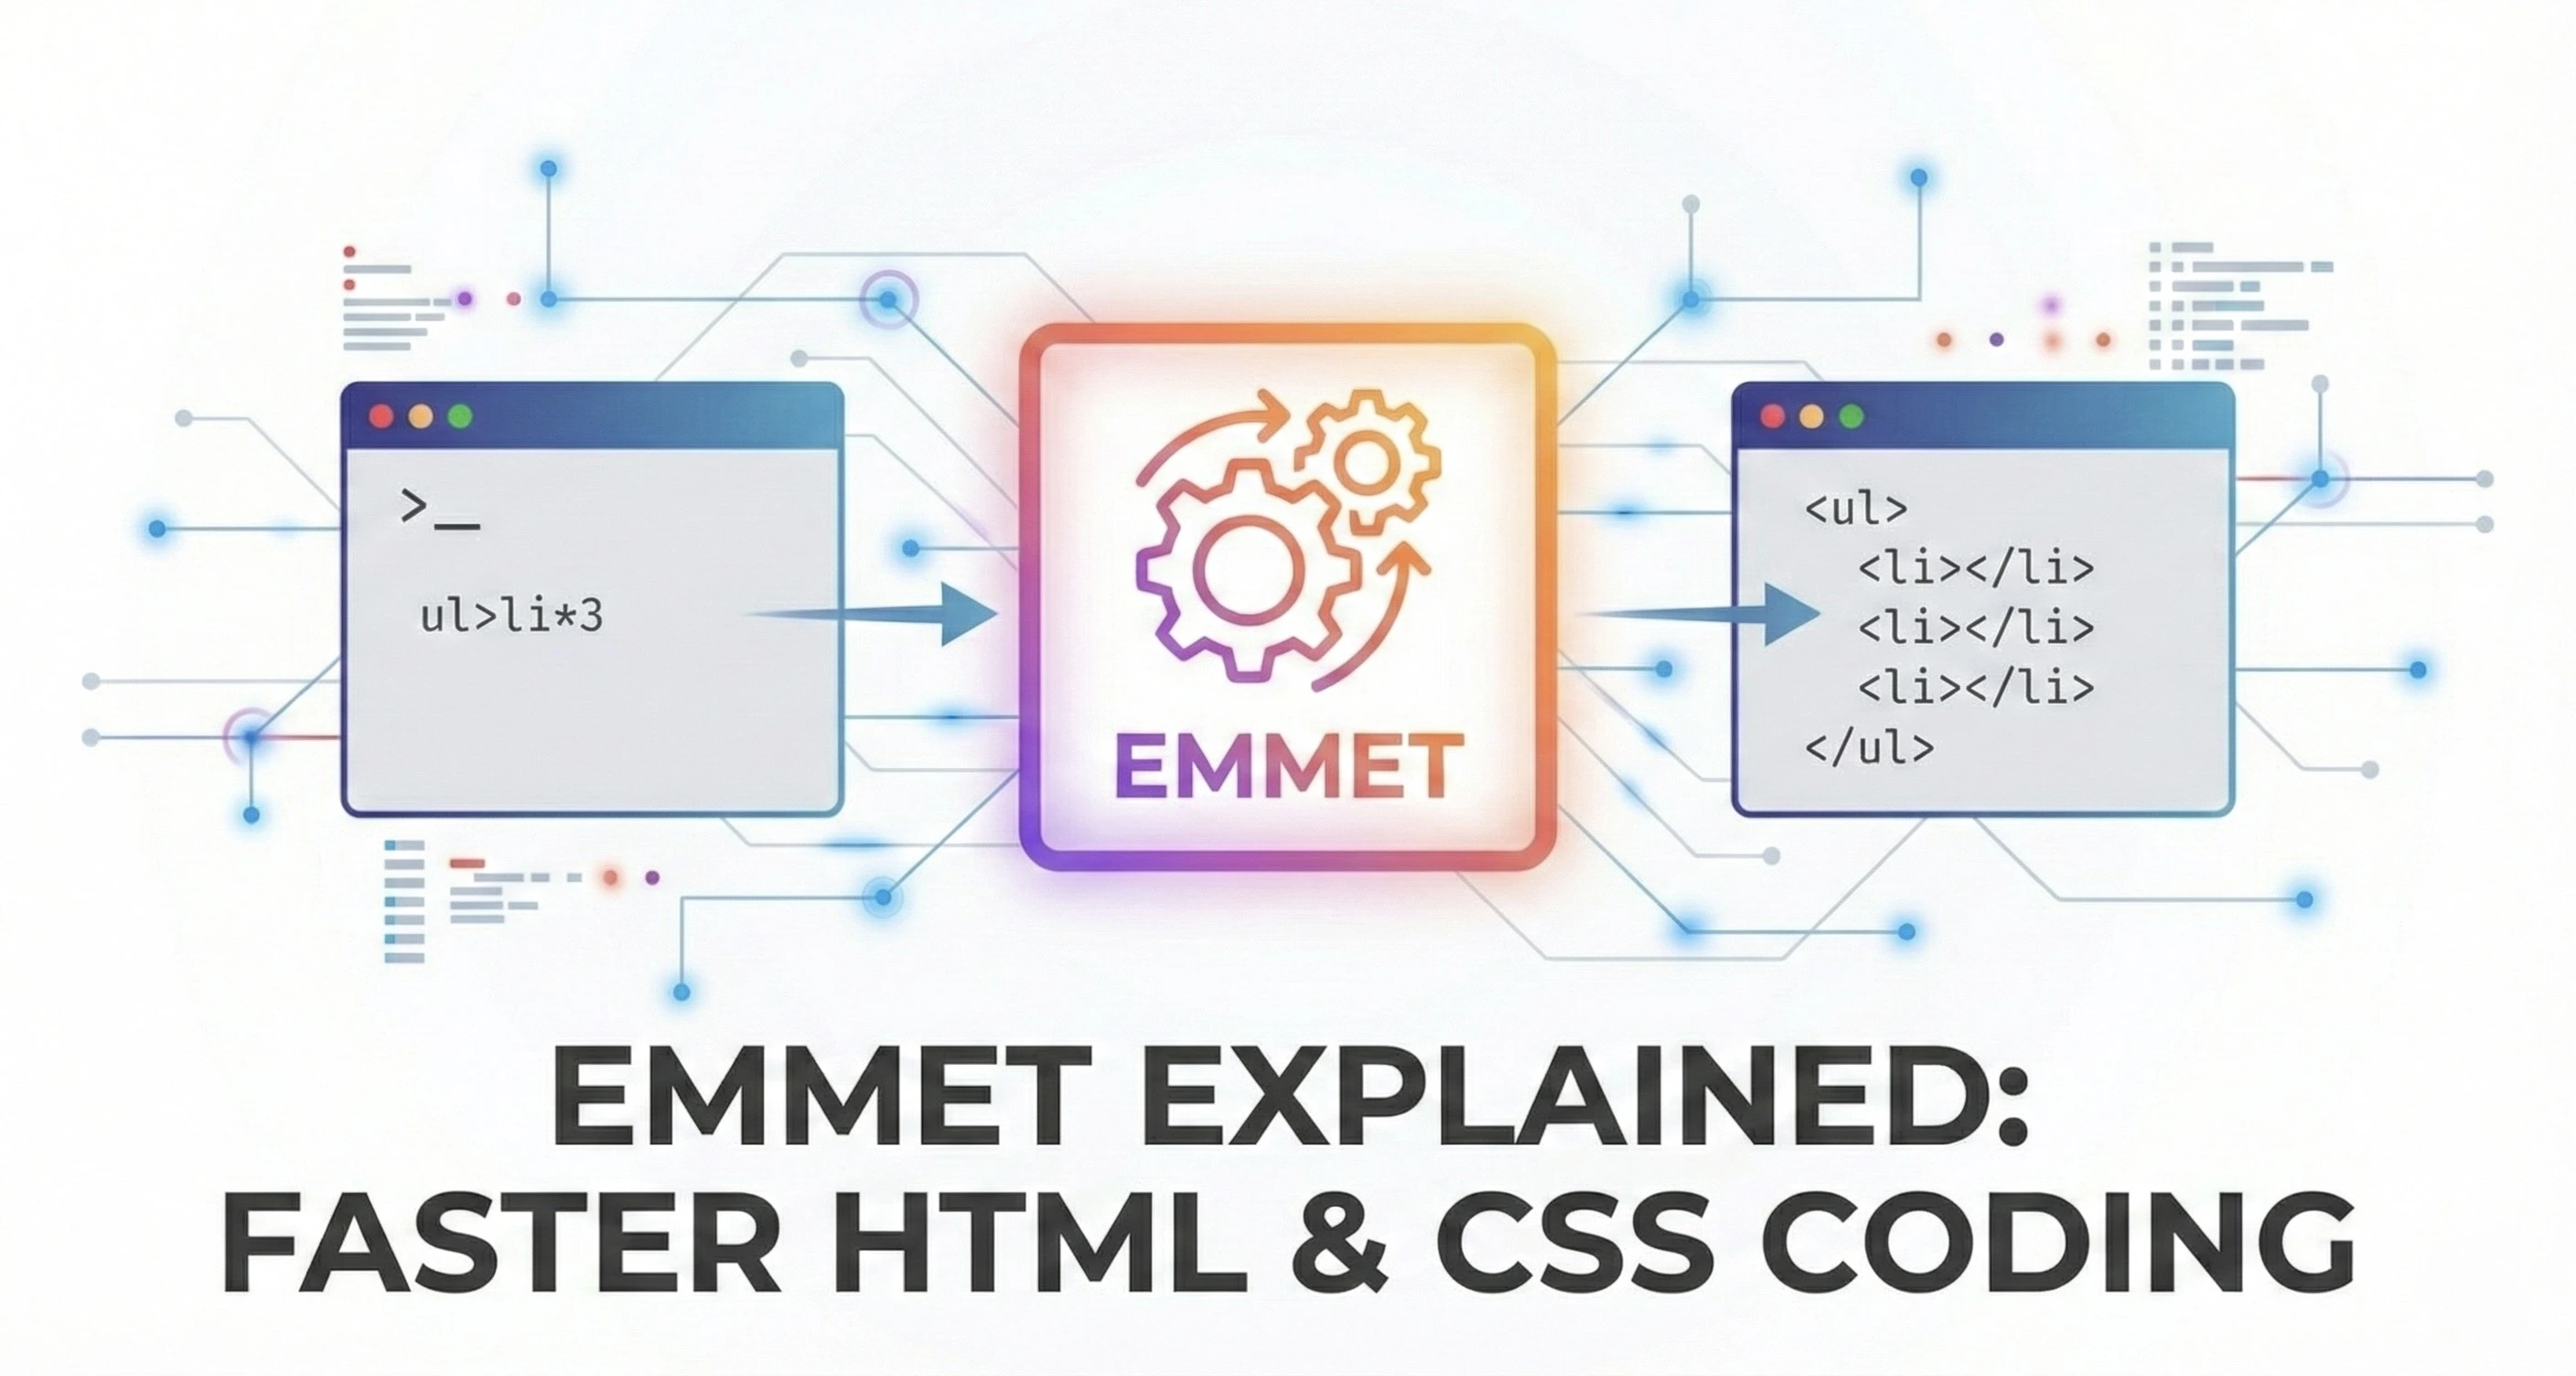
ul>li*5will output to:
<ul>
   <li></li>
   <li></li>
   <li></li>
   <li></li>
   <li></li>
</ul>
Now we have 5 list elements in an unordered list and this will save us so much time when writing HTML.
However, you can save even more time by automating the numbering inside multiple elements using {$} symbol.
ul>li*3>{Item $}will output to:
<ul>
    <li>Item 1</li>
    <li>Item 2</li>
    <li>Item 3</li>
 </ul>
Isn’t this great for creating items with fast numbering to save some time
Adding Classes and ID Attributes
In real-world development, you rarely use plain HTML tags. You almost always attach a class or an ID for styling. Emmet makes this incredibly fast using the dot . for classes and the hash # for IDs—just like in CSS.
Creating Elements with Classes:
Classes are used for adding the CSS Styles to multiple elements and is done using the class attribute in the HTML tag. To assign a class using emmet we use the dot . operator followed by class name.
To create a div with a class of “container”, you just type: div.container.
div.containerwill output to:
<div class="container"></div>There you go we now have a div element with class container added to it.
We can also chain multiple classes by repeatedly using the dot operator followed by the classname.
div.container.mx-auto.p-5will output to:
<div class="container mx-auto p-5"></div>By following this syntax, emmet would create an element like div with multiple class names assigned to it.
Creating Elements with IDs:
IDs in HTML are also used for styling using CSS but is usually done for an unique element on the page. To assign an ID using emmet we use the hash # operator followed by id name.
To create a nav element with an ID of “navbar”, type: nav#navbar
nav#navbarwill output to:
<nav id="navbar"></nav>There you go we now have a nav element with id navbar added to it.
Combining the ID and Classes:
We can even chain the id and class to a single element by adding both hash # and dot . operator to a single element.
div#hero.sectionwill output to:
<div id="hero" class="section"></div>See, now we have a div element with id as hero and class as section.
Generating Dummy Text
When creating elements, you might need to add some dummy text for testing how it looks or perhaps you might have heard of lorem ipsum.
Well guess what? Emmet also offers this feature. just type lorem and hit enter!
p>loremwill output to:
<p>Lorem ipsum dolor sit amet, consectetur adipisicing elit...</p>You can even specify the word count! lorem10 gives you exactly 10 words.
Combining Everything
Let’s put everything we’ve learned into one single line of code. Imagine you need a navigation bar with a logo, a list of links, and a login button.
nav.navbar>div.logo+ul>li*3>a{Link $}+button.btn-loginwill output to:
<nav class="navbar">
    <div class="logo"></div>
    <ul>
        <li><a href="">Link 1</a></li>
        <li><a href="">Link 2</a></li>
        <li><a href="">Link 3</a></li>
    </ul>
    <button class="btn-login"></button>
</nav>
With just one line of Emmet, we scaffolded an entire component!
Conclusion
Emmet is more than just a shortcut tool, it is a fundamental shift in how you write HTML.Once you master these snippets, you won’t just be a faster coder; you will be a happier one. You will spend less time wrestling with typos and more time building great things.